
How to wire a din rail timer to control lighting circuits?
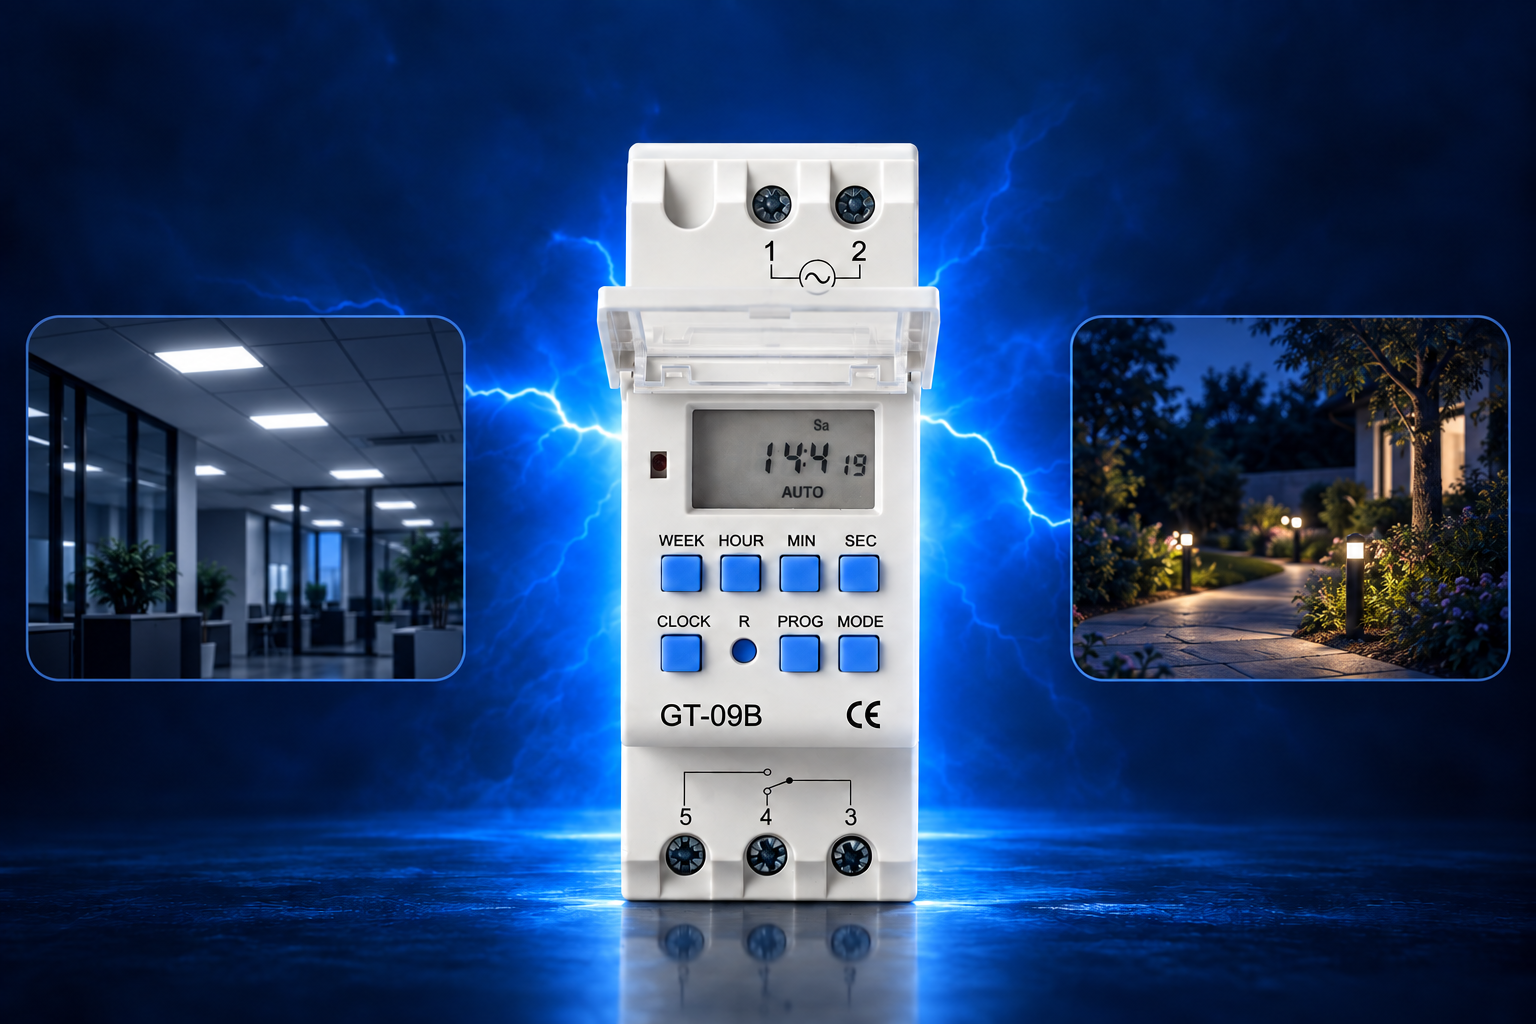
Are your lighting circuits failing? A burnt timer wastes both time and money. I will show you how to wire a DIN rail timer safely to prevent electrical failures.
To wire a DIN rail timer for lighting, first check your load power. For small lights, connect the power directly to the timer terminals. For heavy lighting loads, wire the timer to an AC contactor. The contactor will then handle the heavy current for the lights.
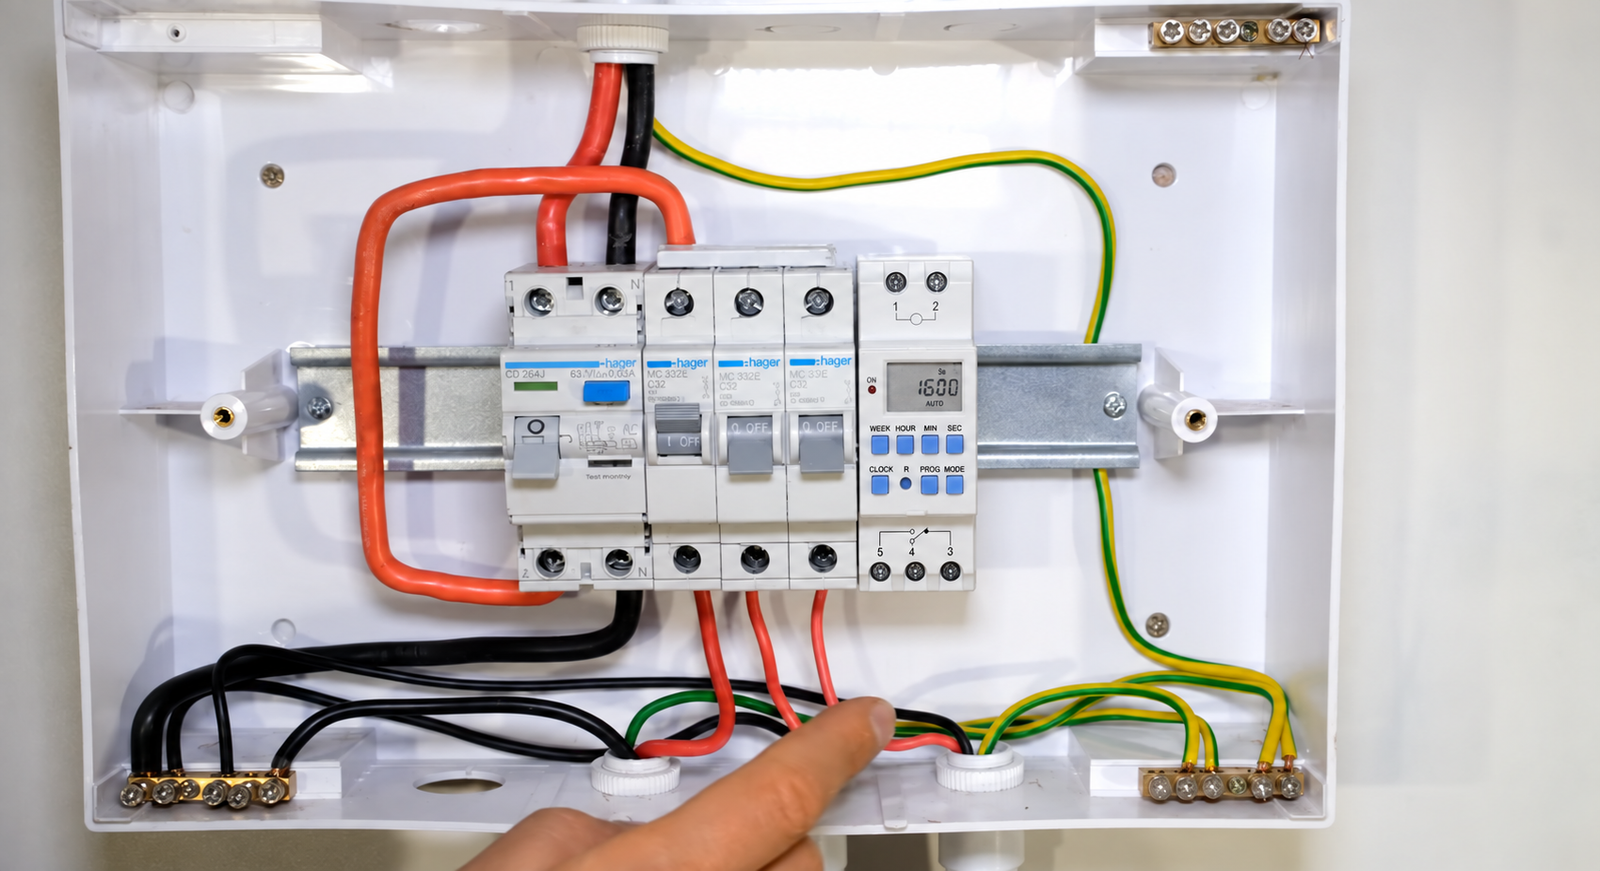
Do you think wiring a timer is just a simple plug-and-play job? Many people make this mistake and destroy their equipment. What happens when your lights draw more power than the timer can handle? Let us explore the exact steps to protect your circuits. Will you learn these simple secrets to avoid costly electrical failures?
Can you wire a DIN rail timer directly to the lights?
Do you have a small lighting project? Overcomplicating the wiring wastes money on extra parts. Direct wiring is the best fix for low-power lighting circuits.
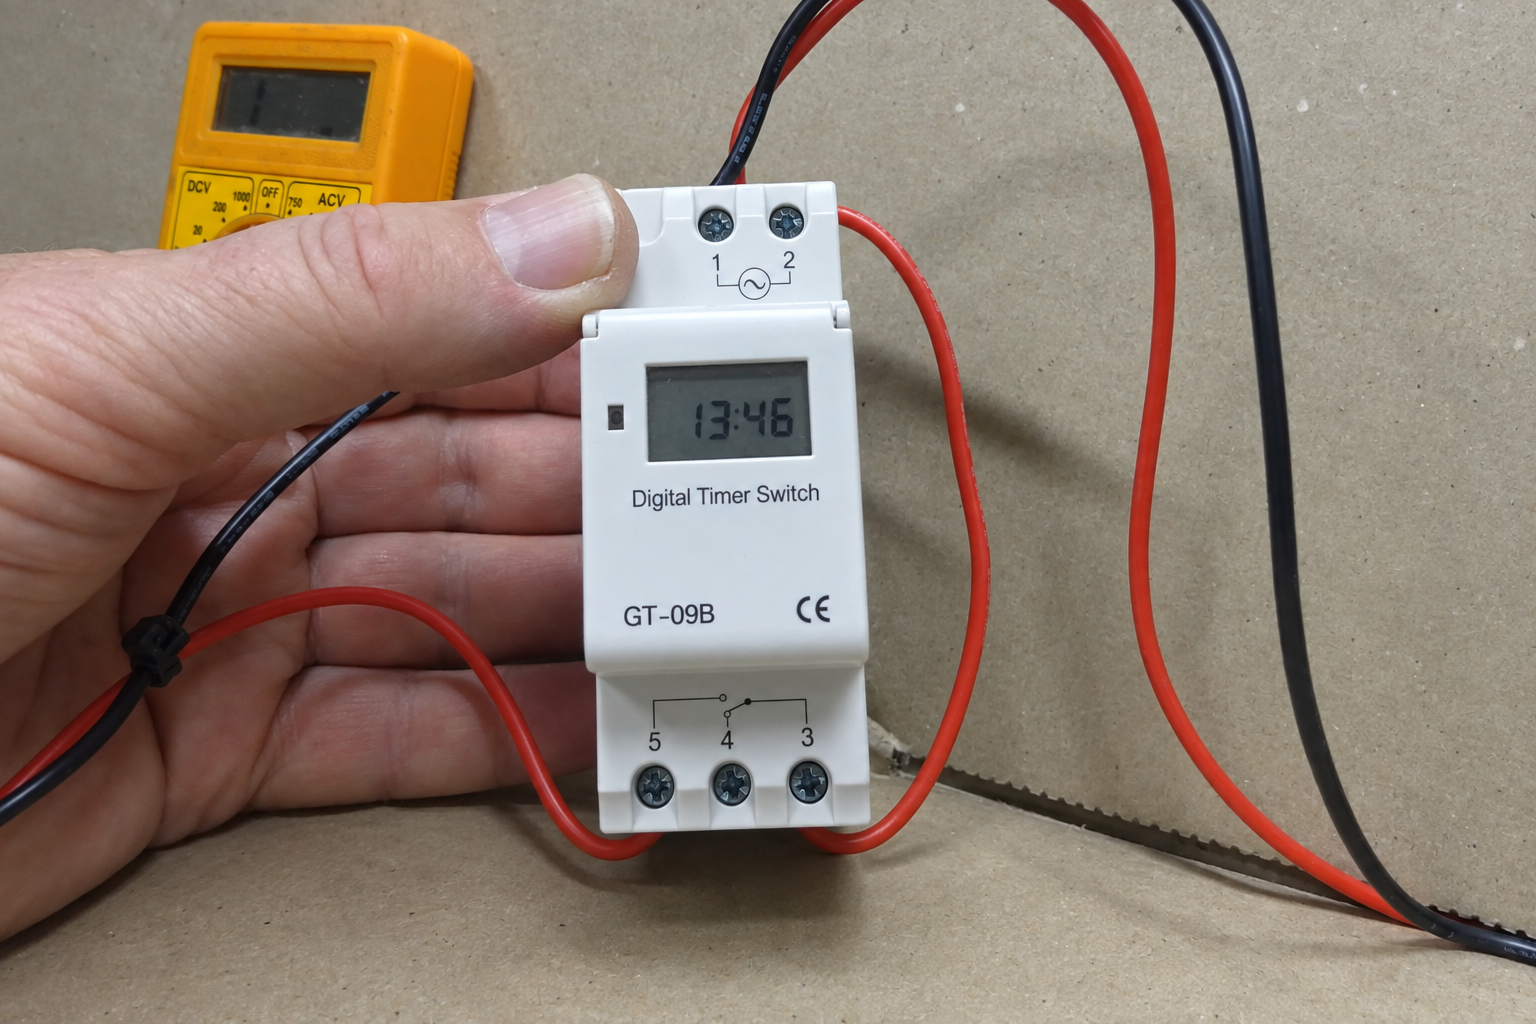
Yes, you can wire a DIN rail timer directly to the lights if the total power is small. You connect the live wire to the timer input. Then, you connect the timer output to the lights. The timer will directly switch the power on and off.
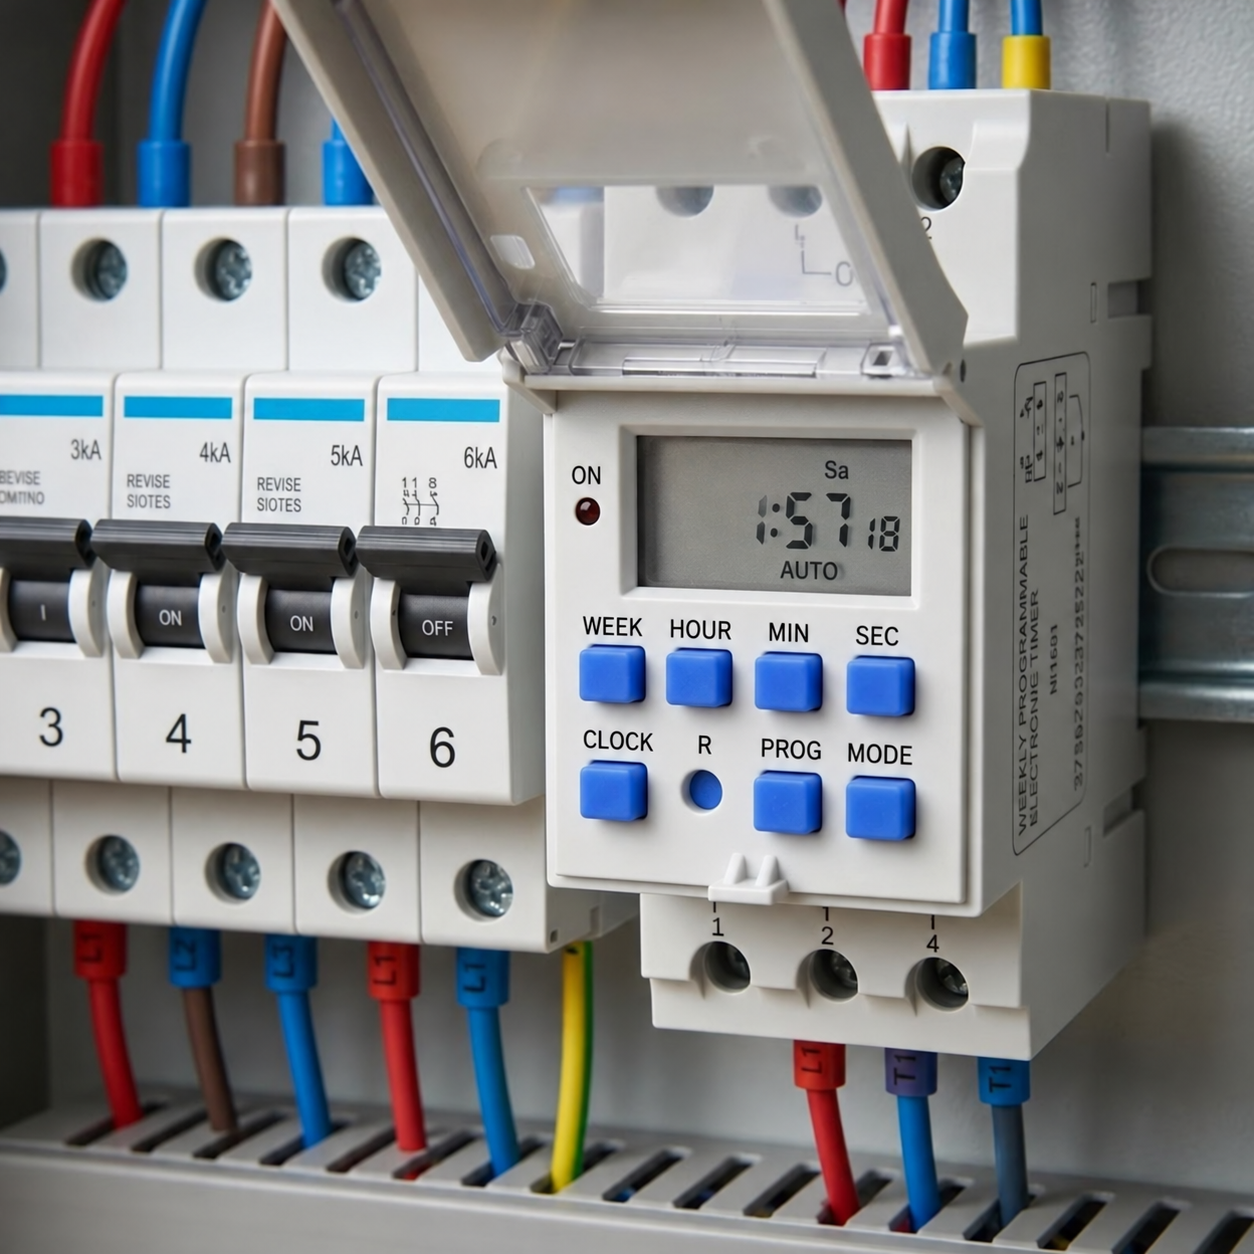
I remember a client from Europe. He wanted to control a few LED shop lights. He asked me a question. Did he need a complex panel? I told him he only needed direct wiring. Direct wiring is very simple. You use the internal relay of the timer to switch the load. This method saves time. It also saves money on extra parts. You do not need to buy a contactor for this setup. You just wire the live feed to the timer. The timer sends the power straight to the bulbs. This is very popular for small DIY store private-label brands.
When to use direct wiring
You should only use this method for small loads. Think about small LED signs or single room lights. The internal relay of a standard timer usually handles up to 16 amps. But lighting loads have high inrush currents. This means the starting current is much higher than the normal current.
Direct Wiring Guide
Here is a simple table to help you understand the limits of direct wiring.
| Load Type | Max Recommended Power | Direct Wiring Suitable? |
|---|---|---|
| Small LED Lights | Under 500W | Yes |
| Incandescent Bulbs | Under 1000W | Yes |
| Large Street Lights | Over 2000W | No |
If your lights fit in the safe zone, direct wiring saves space. You do not need extra parts. You just bring the live and neutral wires to the timer. Then, run the switched live wire to your lighting circuit. This keeps your electrical box clean and simple.
Why do you need a contactor for heavy lighting loads?
Are your timers melting down? High inrush currents will destroy standard timer relays. Adding an AC contactor solves this problem and protects your timer from heavy loads.
You need a contactor because a timer cannot handle the massive current of large lighting systems. The timer sends a small signal to the contactor coil. The contactor then closes its heavy-duty contacts to power the lights. This protects the timer from burning out.
Last year, an electrical contractor called me. He used our timer to control a whole parking lot of lights. The timer melted after two days. He did not use a contactor. I always tell my clients a very important rule. A timer is a brain. It is not a muscle. The contactor is the muscle. You must separate the control circuit from the power circuit. The timer handles the control circuit. The contactor handles the power circuit. This separation is standard practice in professional project-based engineering. It guarantees safety. It also extends the life of your timer by many years.
The role of the contactor
When you have multiple lighting circuits, the total current is huge. A contactor is a heavy-duty switch. The DIN rail timer only needs to power the small coil inside the contactor. When the timer turns on, the contactor coil pulls the main contacts closed. The main power flows through the contactor to the lights. The timer never touches the heavy current.
Wiring steps with a contactor
You must separate your control wires from your main power wires.
| Circuit Type | Component | Wiring Path |
|---|---|---|
| Control Circuit | DIN Rail Timer | Breaker -> Timer -> Contactor Coil |
| Power Circuit | AC Contactor | Main Breaker -> Contactor Main Contacts -> Lights |
This method is very safe. If a light short-circuits, it will not damage the timer. You can control huge loads this way. You can even control three-phase lighting systems with a single small timer and a three-phase contactor.
How do you choose the right DIN rail timer for your project?
Confused by too many timer options? Picking the wrong timer ruins your whole lighting plan. You must match the timer to your specific distribution system to succeed.
Do not just look at the maximum current or program numbers. You must check your power supply, load type, and panel space. A good choice matches your whole lighting control plan. It must fit perfectly into your existing electrical distribution system.
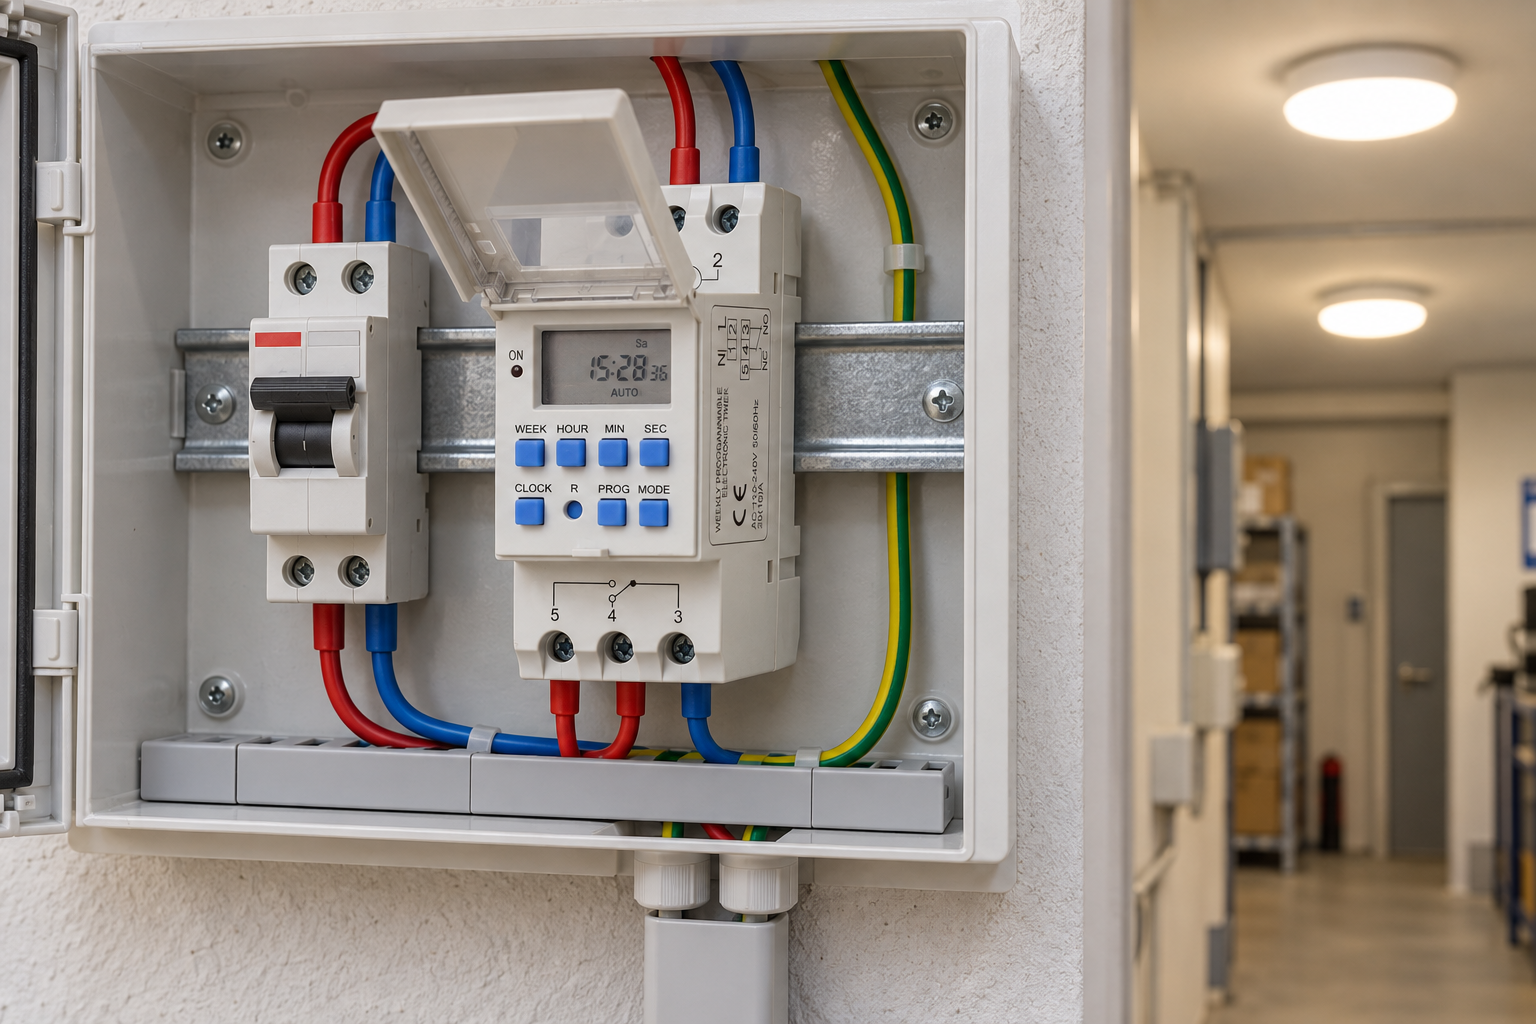
Many wholesale buyers ask me for the timer with the most programs. I always stop them. Having 50 programs is useless if the timer does not fit the panel. You need to look at the whole picture. At Timebest, we help OEM clients plan their product lines. We always recommend stocking both standard timers and high-capacity models. This covers all bases for different customers. A proper timer is not just a part with good specs. It is a part that makes the whole lighting system reliable. It ensures safety for the end user. You must choose a timer that fits the physical space in the distribution box. You also need to check the wiring terminals. Some timers have small terminals. They cannot accept thick wires. You must consider all these physical details before you buy.
Assess the power supply
First, check your control voltage. Does your panel use 110V, 220V, or 24V DC? The timer must match this voltage. If you buy a 220V timer for a 24V system, it will not work.
Consider the load type
Next, think about what you are controlling. Are you controlling the lights directly? Or are you controlling a contactor?
| Selection Factor | Direct Control | Contactor Control |
|---|---|---|
| Timer Current Rating | Must be high (e.g., 16A) | Can be low (e.g., 5A) |
| Space Needed | 2 DIN modules | 4+ DIN modules |
| Cost | Lower | Higher |
You must choose a timer that matches your wiring plan. This step prevents many problems later on.
What are the common wiring mistakes to avoid?
Do your lights flicker or fail to turn on? Bad wiring causes major safety hazards. Avoiding basic wiring mistakes ensures your lighting system runs safely for years.
The most common mistake is mixing up the control wires and the power wires. Another mistake is ignoring the neutral wire connection. Always tighten the terminal screws properly. Loose wires cause heat and can start fires in your electrical panel.
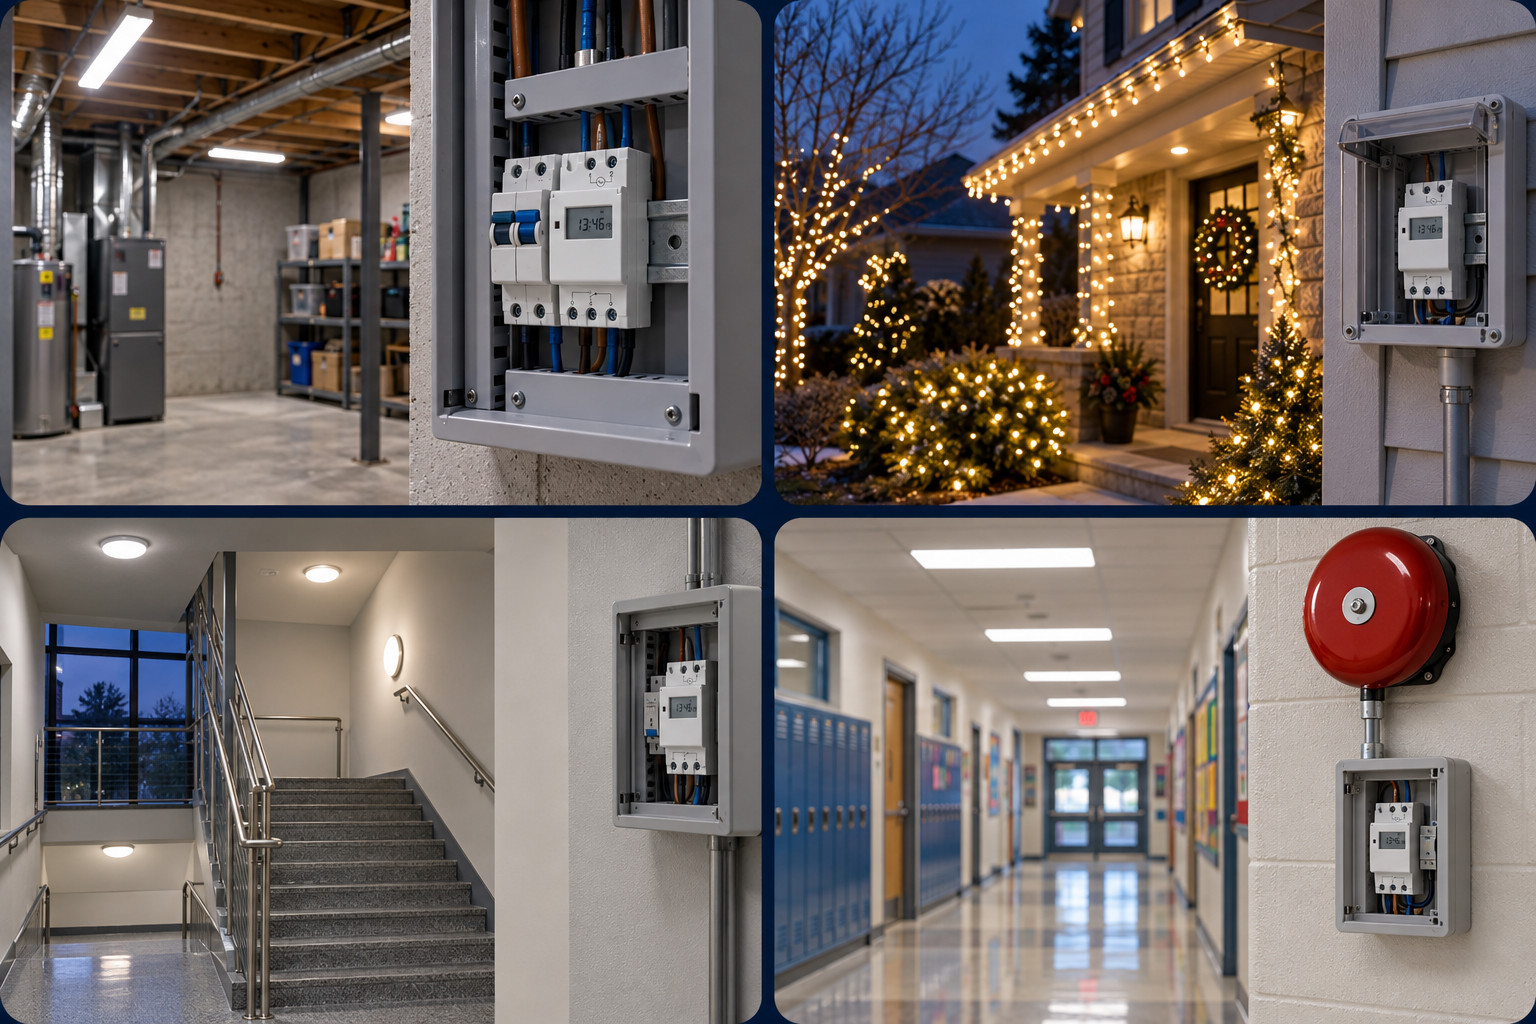
I have visited many job sites. I see good products fail because of bad installation. A smart home integrator once complained about our timer. He said it did not work. I went to check his panel. He put the main lighting load on the timer's motor input. The timer was fine. The wiring was completely wrong. Always double-check your work before turning on the main breaker. Use a multimeter to test the connections. Check for continuity. Good wiring habits protect the equipment. They also protect the people using the building. If you follow these simple rules, your DIN rail timer will work perfectly. It will control your lighting circuits for a very long time. Many small-to-midsize electrical wholesalers get returns from customers. These returns are usually due to bad wiring. You can avoid these returns. You just need to educate your installers on these basic wiring rules.
Keep wires organized
You must separate your wires clearly. Use different colors for control wires and load wires. This makes troubleshooting easy.
Check terminal connections
Loose connections are very dangerous. When current flows through a loose wire, it creates a lot of heat.
| Mistake | Consequence | How to Fix |
|---|---|---|
| Loose screws | Overheating and fire risk | Use a torque screwdriver |
| Missing neutral | Timer screen goes blank | Connect neutral wire firmly |
| Wrong wire size | Wires melt under load | Match wire gauge to current |
You must respect electricity. Always tighten your connections. Always match your wire size to your load.
Conclusion
Wiring a DIN rail timer correctly depends on your load. Use direct wiring for small lights and a contactor for heavy loads to keep your circuits safe and reliable.